
We all love Ikea. Why? Because it’s cheap. But the downfall of Ikea? It’s cheap!! You won’t find high quality, solid-wood furniture in rich, dark tones that will last until your grandkids move out of their parents house and you can pass down the heirloom furniture. But for a young person furnishing their first apartment…….Ikea is perfect!
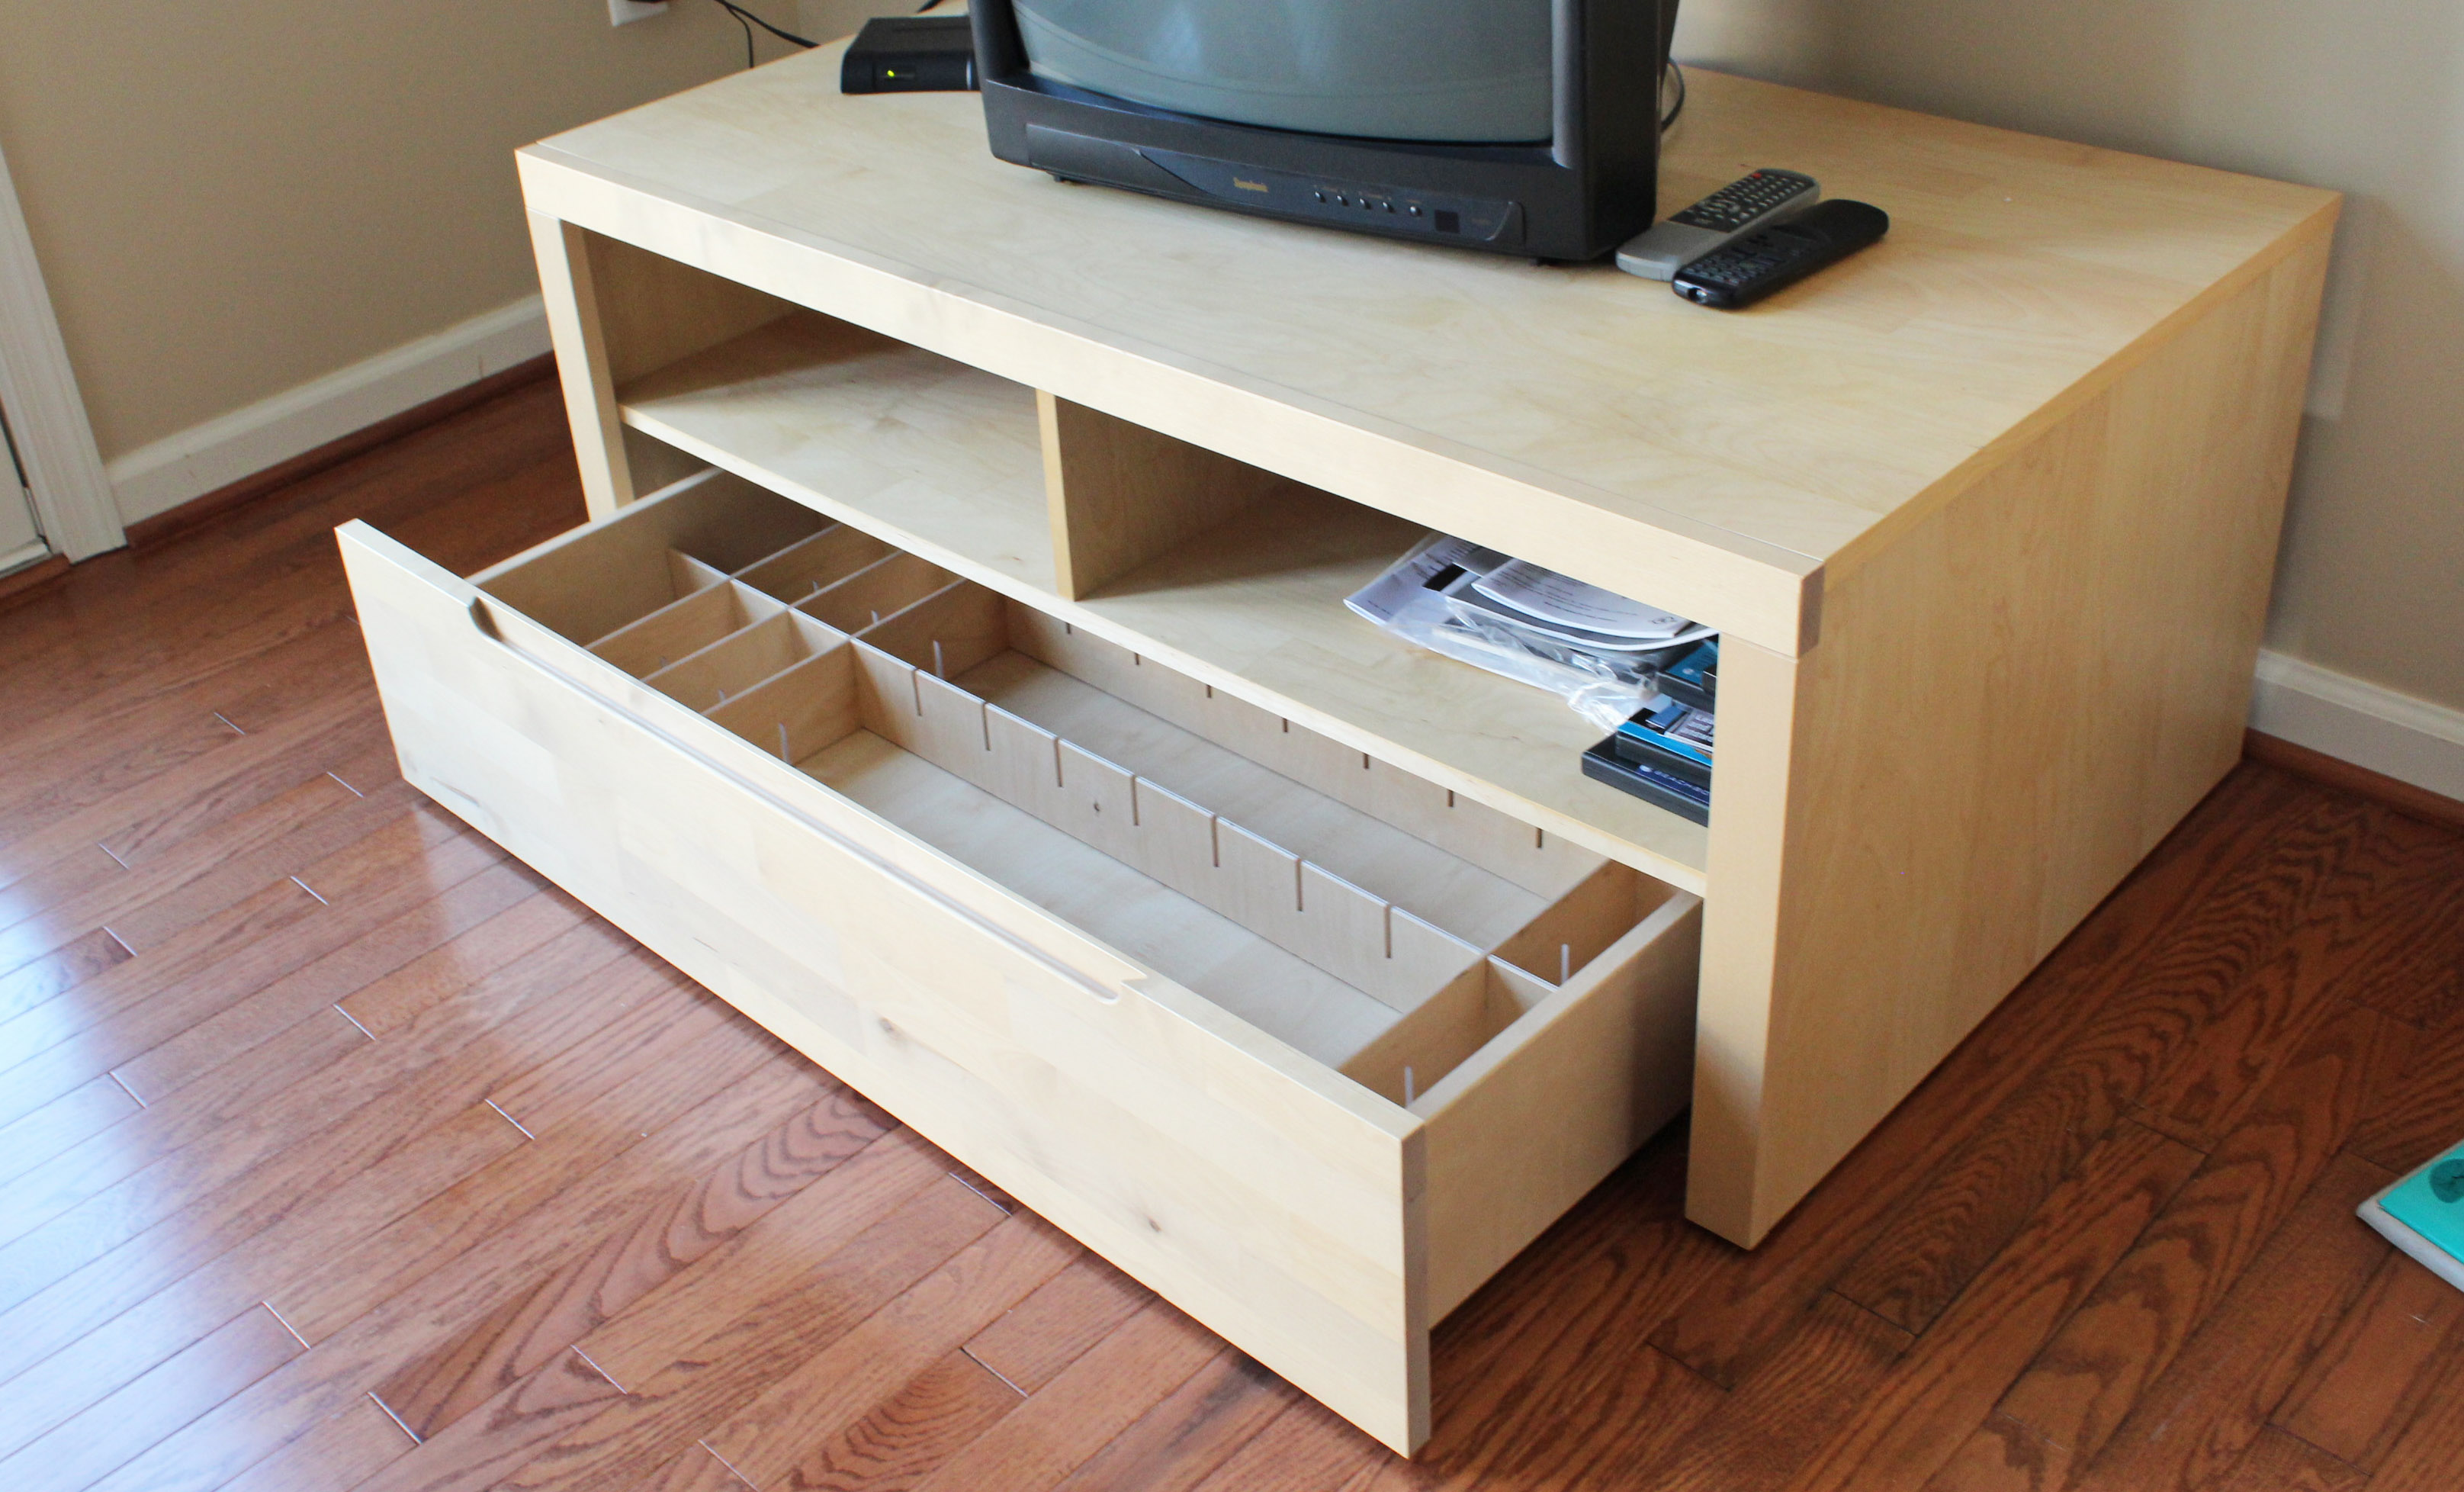
When I got my first apartment out of college, I needed some furniture. Cheap. I bought this Ikea birch veneer tv stand. It served me well and was even used in my first house in the bonus family room.
Two months before I bought my house last year, my fella also bought a house for him and his daughter but he was short on furniture. I was moving into a house that was half the size of my old house and I had furniture I didn’t need. I volunteered to let him have my tv stand. He wasn’t a fan of the color (neither was I really but when you’re a poor college graduate anything will work!) So I said my favorite words “I can paint/stain that!!!” He decided he wanted it stained a darker wood tone so I got to work.
I did some research and read lots of different techniques for painting/staining Ikea veneer furniture. Most reviews I read said it wouldn’t work, but I decided to give it a whirl anyway and see what happens.
1. I sanded the entire piece with an electric sander and 100 grit sandpaper. Because it is cheap veneer, you will never really get the “wood” roughed up enough to absorb the stain. I sanded to get as much shine off of the wood as possible.
2. I used a foam brush for even coverage and brushed the stain on relatively thick, but also as smooth as possible.

3. I let the stain sit for 30 seconds just to give it some time to HOPEFULLY soak into the veneer a little. I wiped off the excess with a paper towel. The key is to wipe lightly, removing excess stain but leaving as much color on as possible.

I used Minwax Red Mahogany stain.

4. I gave each coat at least a day to dry in between. If it is still tacky when the next coat is applied, the color will just get pushed around. Because it is veneer, the stain is not absorbed into the wood. It is actually just being painted on. Adequate dry time is key to getting an even, long-lasting finish.
5. After the last coat was fully dry, I applied a LIGHT coat of Minwax Clear Semi-Gloss Polycrylic. This coat needs to be applied as lightly and evenly as possible to not cause the paint to smear.

The stand was left in the garage for 4-5 days for the poly to dry and cure. Since it was having a tv and other electronics put on it, I wanted it as hard and cured as possible.
Once we brought it in, I thought it looked amazing. And my fella loved it!! $10 for stain and poly and my fella had a “new” tv stand!!
I think it looks amazing!!! So much better than its former life as a birch colored, new college graduate tv stand! And its super easy to do!


And since his house needs a bit of a woman’s touch, I cut these hydrangeas from his garden to spice up his tv stand and make it a little more homey!
Aren’t they gorgeous?!?!